Related to LO2
This post will look into the research and process of dialogue editing for ‘All Ribbons End’. This was the first stage for audio post production on this particular film. This process not only ‘cleaned up’ the location audio and made it audible clear and better quality; it meant by the end of this process it would then determine on how much of everything else I would need to do. It would determine any Foley I needed to do, atmospheres I have to create, and any ADR that was needed. However ADR was not possible due to time restrictions and actors availability therefore I had to make sure that the dialogue was as best as it could be.
For my research on dialogue editing I used a book by John Purcell: Dialogue editing for motion pictures-A guide to the invisible art.
This was a very useful text, as it explained the role, how to get started, how to fix certain problems etc. I also used this text in the first semester. It proves to be a good book for problem solving issues with dialogue editing and is clear, easy and very useful guide.
“A dialogue editor is responsible for every sound that was recorded during the shot. She takes the more or less finished film from the picture editor, makes sense of the edited sounds, organizes them, finds out what works and what doesn’t. The dialogue editor wades through the outages to find better articulations quieter passages, sexier breaths, and less vulgar lip smacks…Dialogue editors work to remove the filming from the film. Dolly squeaks, camera noise, crew rustling, and light buzzes must go; otherwise, the magic of the movies is comprised.” (Purcell, 2007, 1)
So, just what is the dialogue editor’s part in this process:
To organize and manage the material.
To smooth the transitions between shots so conversations appear to be happening in the same place at the same time
To fix articulation problems, overlaps and language issues.
To address unwanted, unseemly actor noises.
To pay attention to changes and adds that will enhance the story or motivate characters’ actions.
To remove unwanted external noises
To replace sections of dialogue corrupt by distortion, wind, clothing rustle, boom handling and the like.
To determine what can be saved through the editing
Before i started this process i wanted to make sure I was prepared. Therefore read some of the chapters in Purcell’s book and used them as a reference when having any issues with the dialogue editing. The chapters that were particularly useful included:
Getting started on dialogue editing
This chapter was extremely useful in outline the necessary preparation before going ahead and diving into the dialogue editing. It suggests the best ways in which to set up, syncing an OMF file, using a template session etc. For this process I used my own template that I created previously. In the previous project I created a Pro Tools Session Template with reference to the Template given to us by Grant Bridgman in a previous lecture. However after assessing some of the issues with the template I used, I amended it further. Below are the two old templates in question. The left is the Grant Bridgman one and the right is my old template. My new template took my old template and modified features that made it more similar to Grants one. The first thing I did was add working tracks and Junk tracks. This meant I could work and edit on select bits of audio. once it has been edited I placed it in the dialogue tracks. therefore I knew it was complete and I wouldn’t try and edit and or delete things that didn’t need to be. the Junk were used instead of deleting files. This proved useful as sometimes I wanted to access clips that I previously deleted. This was much easier to access through the junk tracks than having to reimport an OMF session.

Now the actual editing
This chapter gives an outline of the dialogue editing process. It talks about checking boarding the audio files on tracks, organizing scenes into shots, splitting by sound edits, not picture edits. Finding room tone, making edits etc.
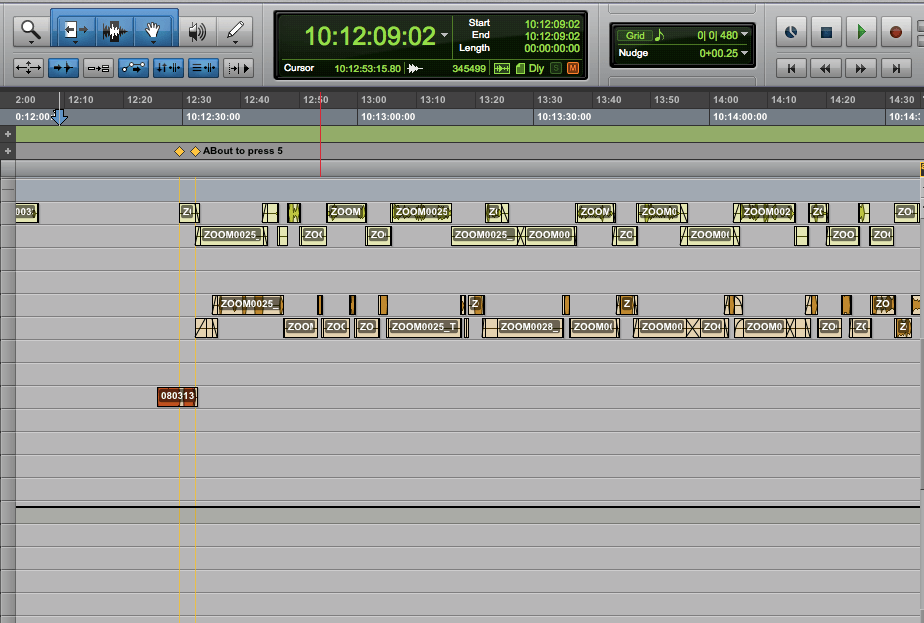
Here is an example of my dialogue edit early on in the process.
Damage repair
This Chapter was especially useful as reference tool for when i needed to overcome an issue with the edit. It starts by talking about the common issues that dialogue editors have and how to repair the issues. It talks about using room tone, and how to use it to repair audio in regards to sounds being there that shouldn’t, and finding literate takes. In which i did for a few occasions where the dialogue was bad quality in the original recording. Finding other takes was really easy as one of the charters were never in shot. Therefore the voice coming from the phone call could be fixed easier than the actor on screen.
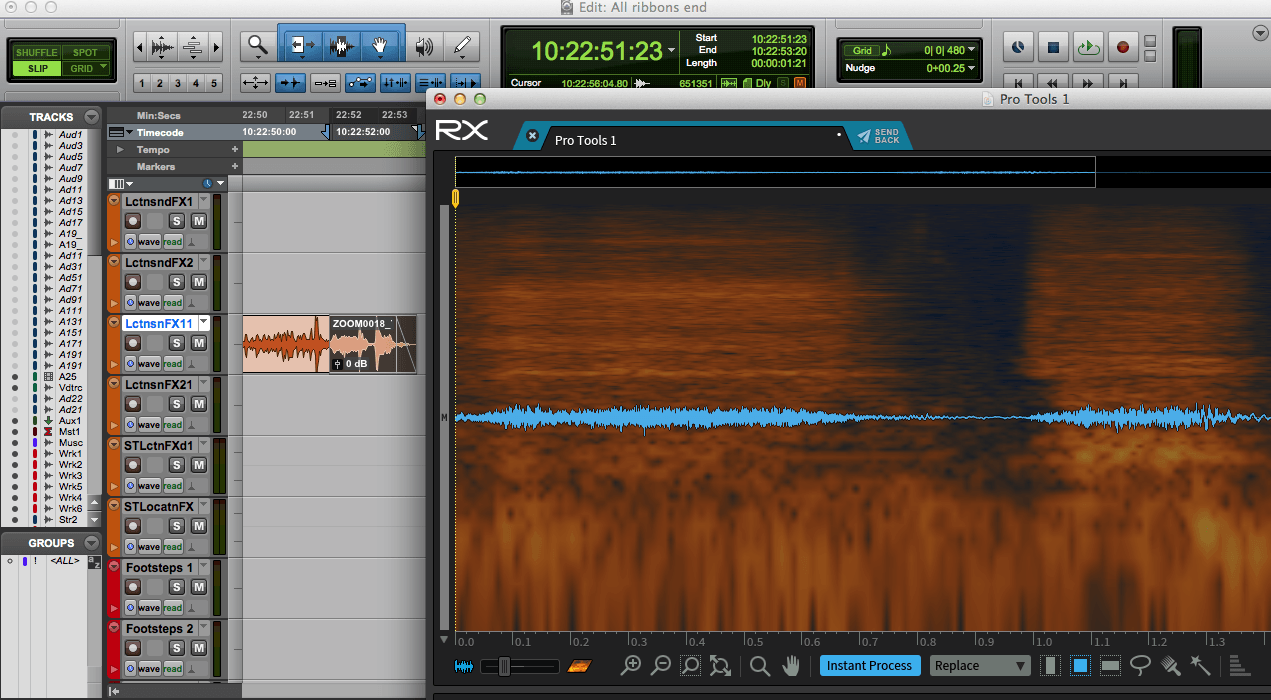
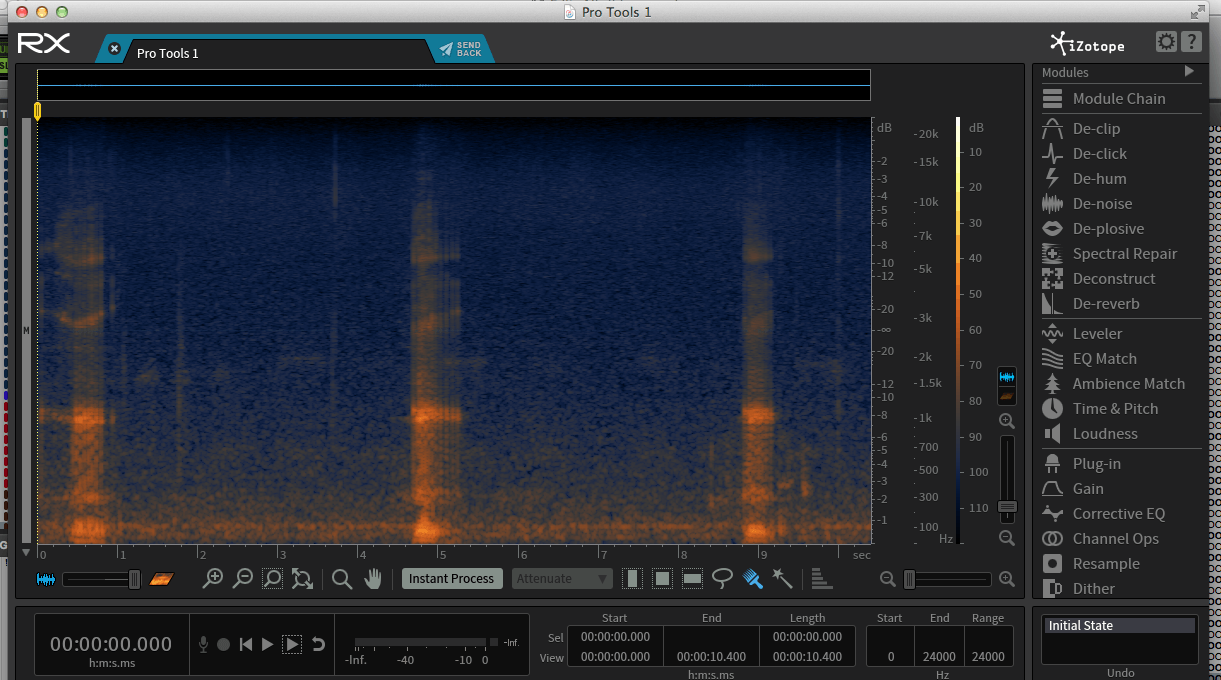
IZotope’s RX plugin was very useful during this whole process. This is a very powerful tool that did many things that helped improve the quality of audio during the dialogue editing process. The videos below really helped me in understanding how to use this software and how powerful it can be.
This video gave me an amazing incite to RX. Before I accessed this video I was simply playing around with the tools (not really knowing what I was doing. I also never touched the spectrograph editor. I was quite intimated by how complicated it looked. I basically guessed how it worked and didn’t know how to get a result out of it. However this video simplified it a lot, and it was amazing how easy it was to use. the caption for the video was: “Learn how to deal with gaps and dropouts, wind noise processing techniques, tips for visual editing in the Spectrogram, help with removing unwanted sounds, and a deep dive into the De-noise, EQ, and Ambience Match tools.” this is exactly what I learnt from it, and it considerably helped aid the quality of the final audio I delivered to the client.
As well as this Video, I used used izotope’s ‘RX cook book’. This is a free access site that lets you look for a specific problem and the solution to the problem, as well as tutorials on how to use the software.
https://rxcookbook.izotope.com/?_ga=1.56952042.1544855555.1462544177
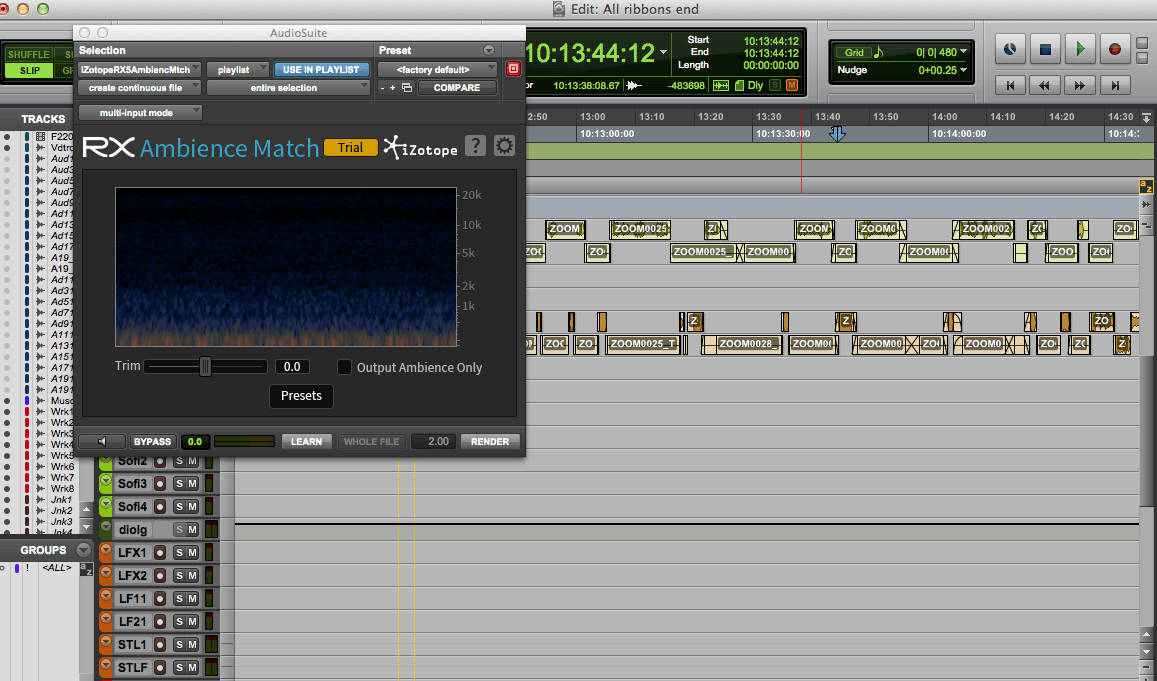
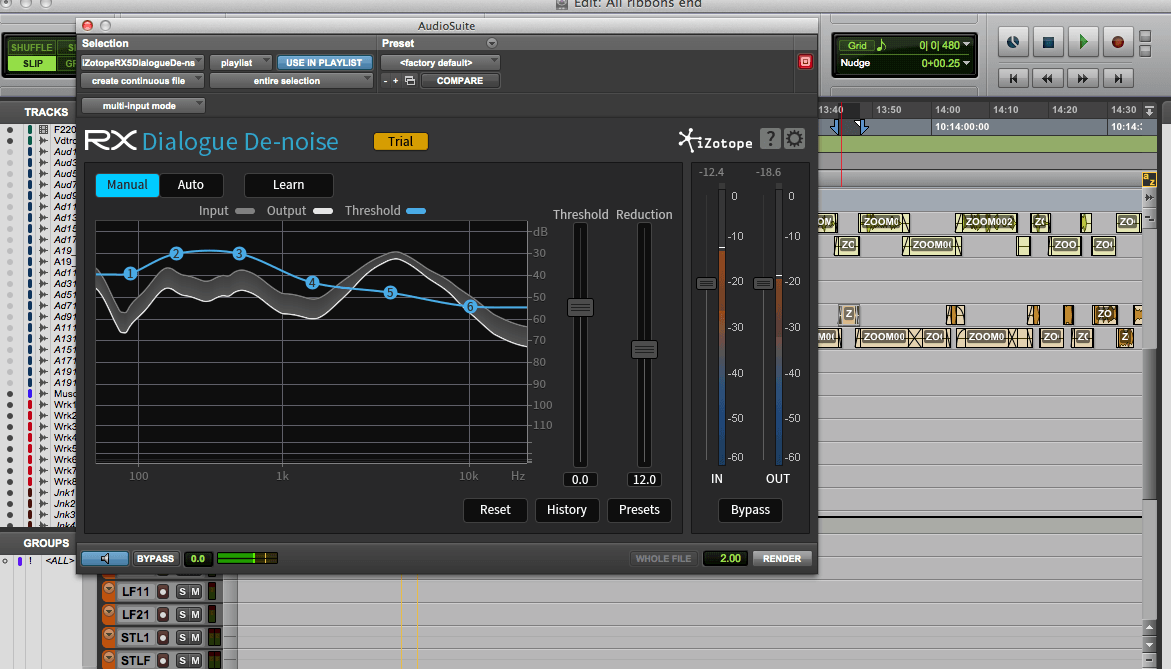
The main tools I used was the ambience match, Dialogue noise reduction and the ‘connect’ feature that allows you to edit the spectrograph outside of Pro Tools.
One of the issues I had with the last project is that i couldn’t find enough ‘silence’ to fill certain gaps. This very effected the overall quality of the audio. The ambience match tools was an amazing feature i used very frequently in this project. Any time where I needed ‘silence’ I didn’t need to go through lots of takes to find a similar ambient sound. It also meant the audio could be a lot more consistent, and I could record bits of Foley that wouldn’t sound out of place.
Another issue I had in the last project was background noise. The Dialogue DE-noise was a very easy to use and power tool that helped get rid of the background noise. This was quite essential in a film that has big gaps of silence in. The background noise can be very distracting for the listener. After experimenting however, I found that if this tool is overused, it can degrade the quality of the audio. When the noise is reduced too much it sounds a bit like a ‘phasey gate’ and is very distracting. There was a few occasions were I had un-do the processing as it sounded worse than before it went through the de-noiser.
The main RX module with the spectrograph was an amazing feature when it came to wanting to pick a part certain parts of the audio. You can turn down certain frequencies as well as ‘rub out’ other specific frequencies. this function was most useful when trying to get rid out certain sounds such as knocks, boom bumps, clicks etc.